
 This week, I headed out to Seattle to do a set up for a tradeshow. While I was there, I was able to hang out with my good friend Sarah from DePauw, and we decided to cook up some Tasty treats.
Sarah had attempted to make real almond flour macarons a few times without success. We decided to tackle this finicky cookie. We tried two different recipes, one of which was pretty damn good, the other was....not so good. For the purpose of being productive, I'll focus on the good ;)
 We used a recipe Sarah found online for Fool Proof Macarons. Check it out here: http://www.myfoodgeek.com/2007/06/08/almost-foolproof-macarons/
 The recipe called for everything in grams, so we busted out the kitchen scale, and pre-measured everything.
 While Sarah was measuring, I started beating the egg whites with a hand mixer, until they formed soft peaks.
 Then, Sarah got the Sugar-water syrup heating up on the stove.
 We added the syrup a little at a time to the eggs whites, along with a little vanilla extract, and blue food coloring. we continued to beat the mixture until it got very stiff, and held its shape like-so.
 Then, we added in the almond meal and sugar, along with the rest of the egg, and folded it all in.
 Once totally mixed, we took turns piping the batter onto lined cookie sheets,
 Then we baked them for 15 minutes.
 While we were baking up all these blue Vanilla Macaroons, we decided to try to make some chocolate ones. They were sticky, and not light, and kept falling apart when we tried to remove them from the cookie sheet. Here's a peak. We didn't bother sandwiching them.
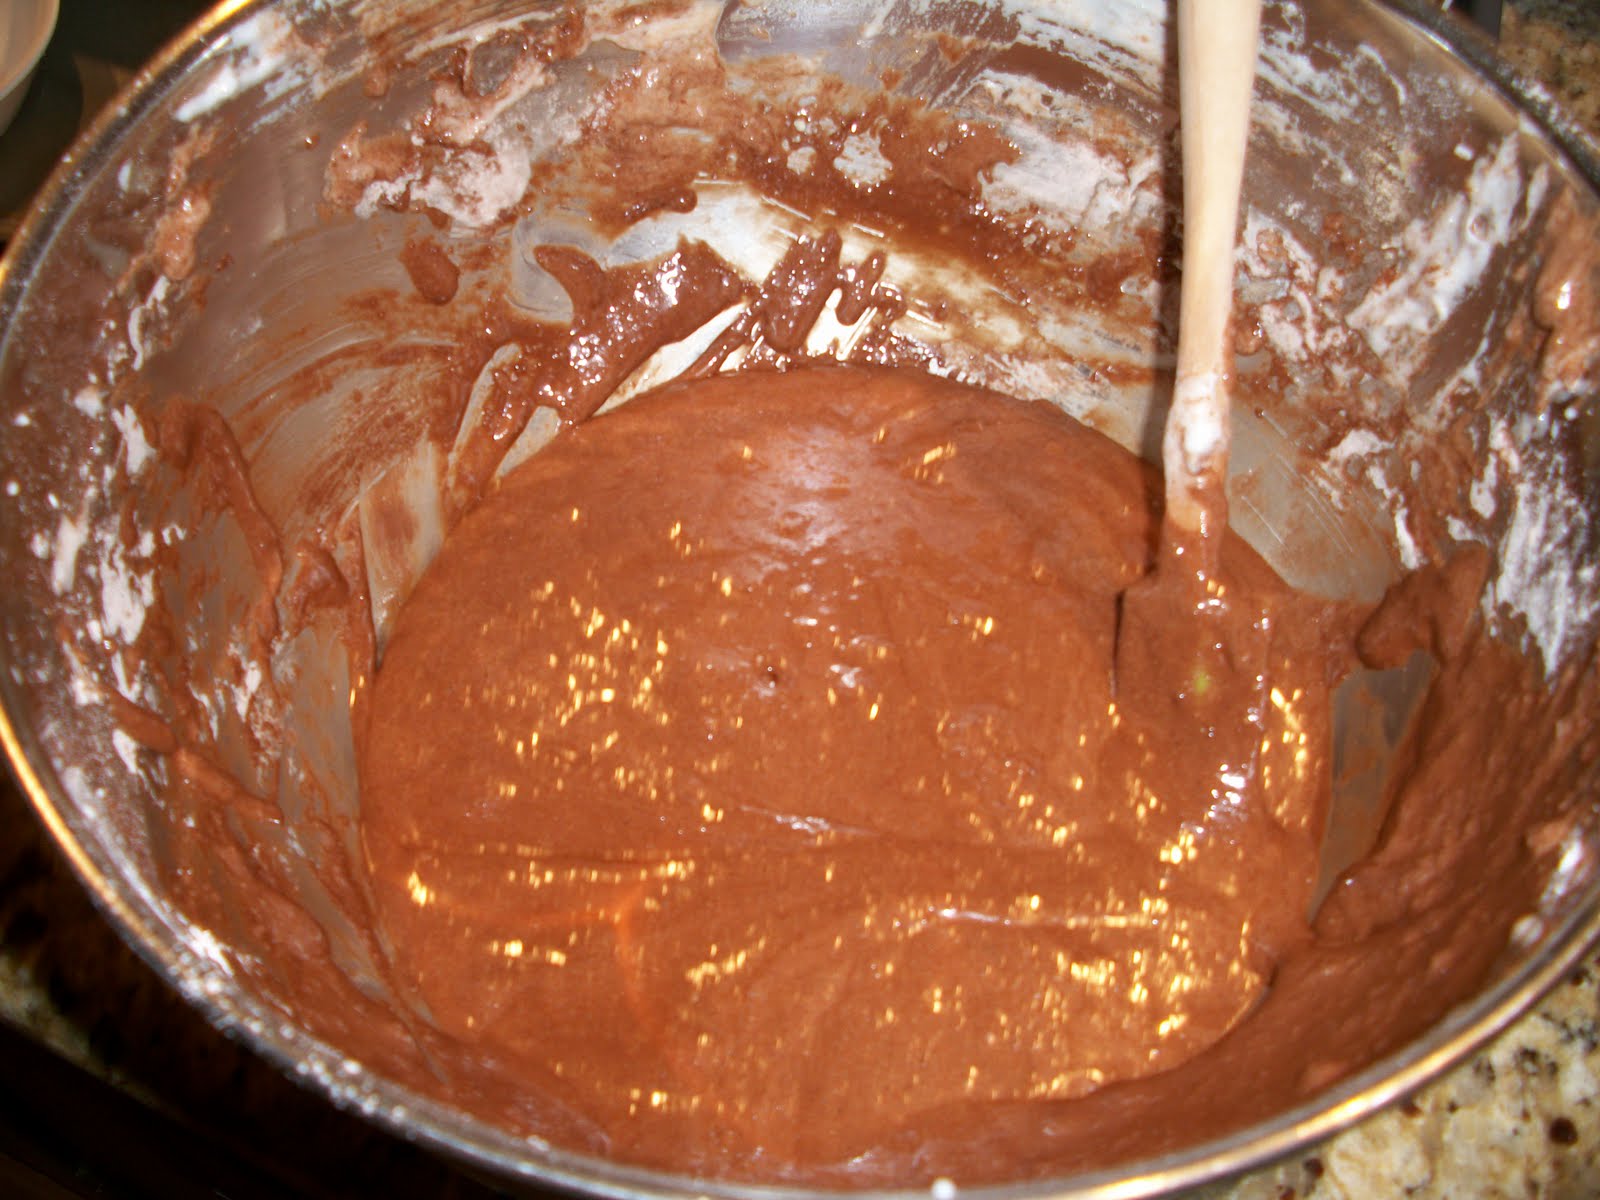

 Not so good. Ok, let's move on back to the successful cookies :) time to sandwich.
 And Sample. Yum. These cookies, according to Sarah, are not quite the delicious Parisian macaroons that she buys for large sums of money in the city. But they were the closest yet. The cookies were light, and slightly gooey, very tasty, and got even better when we filled them with dark chocolate Ganache.
 Pretty!
 And they matched Sarah's Gurgle pot. Perfect.
 Good job team.
 When I was a kid, we used to go up to Maine to visit my uncle and cousins on Thanksgiving. Their dessert policy, which I highly support was “a pie per person.” My personal favorite, every year, was the shoofly pie. At the time, I had no idea what was in it. I just knew it was goey and sweet and yummy. Now, in all my adult wisdom, I know it involves one of my favorite, and infamously overstocked, ingredients: Molasses.


 Last night I attended the annual "Octoberfest" party at my dear friends' The Kucaj's house, costumes required. I wanted to bake something "Halloweeny" so I decided to try to do some fun cupcakes. I saw a pictures of some spider cupcakes on the cover of a magazine at the grocery store, and it looked pretty simple, so I thought I'd give it a shot.


 I nuked the rolls in the microwave for about 10 seconds to make them nice and pliable, then I started rolling them out into long strings. This actually took forever. Finding licorice strings would be a better plan ;)


