Happy Friday Blog-people! Tonight I took on part two of my cookie press comparison experiment with the press my mom got me for
Christmas. It came in this fancy-
schmancy carrying case....

Apparently it's a Kuhn
Rikon, from Switzerland. Sounds fancy.

It kind of looks like a weapon, don't you think?
 Anyhoo
, I decided to try a slightly different recipe. So I went with a "Chocolate Chip Spritz" cookie.
Ingredients:
1 cup butter, softened
2/3 cup sugar
2 teaspoons vanilla
1 egg
1/2 tsp salt
1/4 cup coarsely grated chocolate
2 1/4 flour
Mix up your dough by the usual process. I had to grate some semi sweet chocolate. At first the grate was too fine, so I nuked the chocolate in the microwave and it helped get more of a "course" texture.
 Woops
Woops chocolate dust on the floor.

Mixed into the dough, the chocolate specks looked like little tiny chocolate chips. yum!

This dough was
DELISH. I actually liked the dough better than the cookies.
Haha. It tastes just like the dough in cookie dough ice cream. I was tempted to roll up some little balls of it and mix it in some vanilla....future project perhaps.
Enter the Swiss cookie press....

This thing actually had a "trigger" type apparatus, which measures out the amount of dough for you. For a novice cookie-presser, I think this was simpler (instead of trying to figure out the best amount of dough for each press.

However, I did have some trouble with it. Because of the smaller amount of dough it allowed through the press at once, I kept getting incomplete cookies. Slightly annoying...

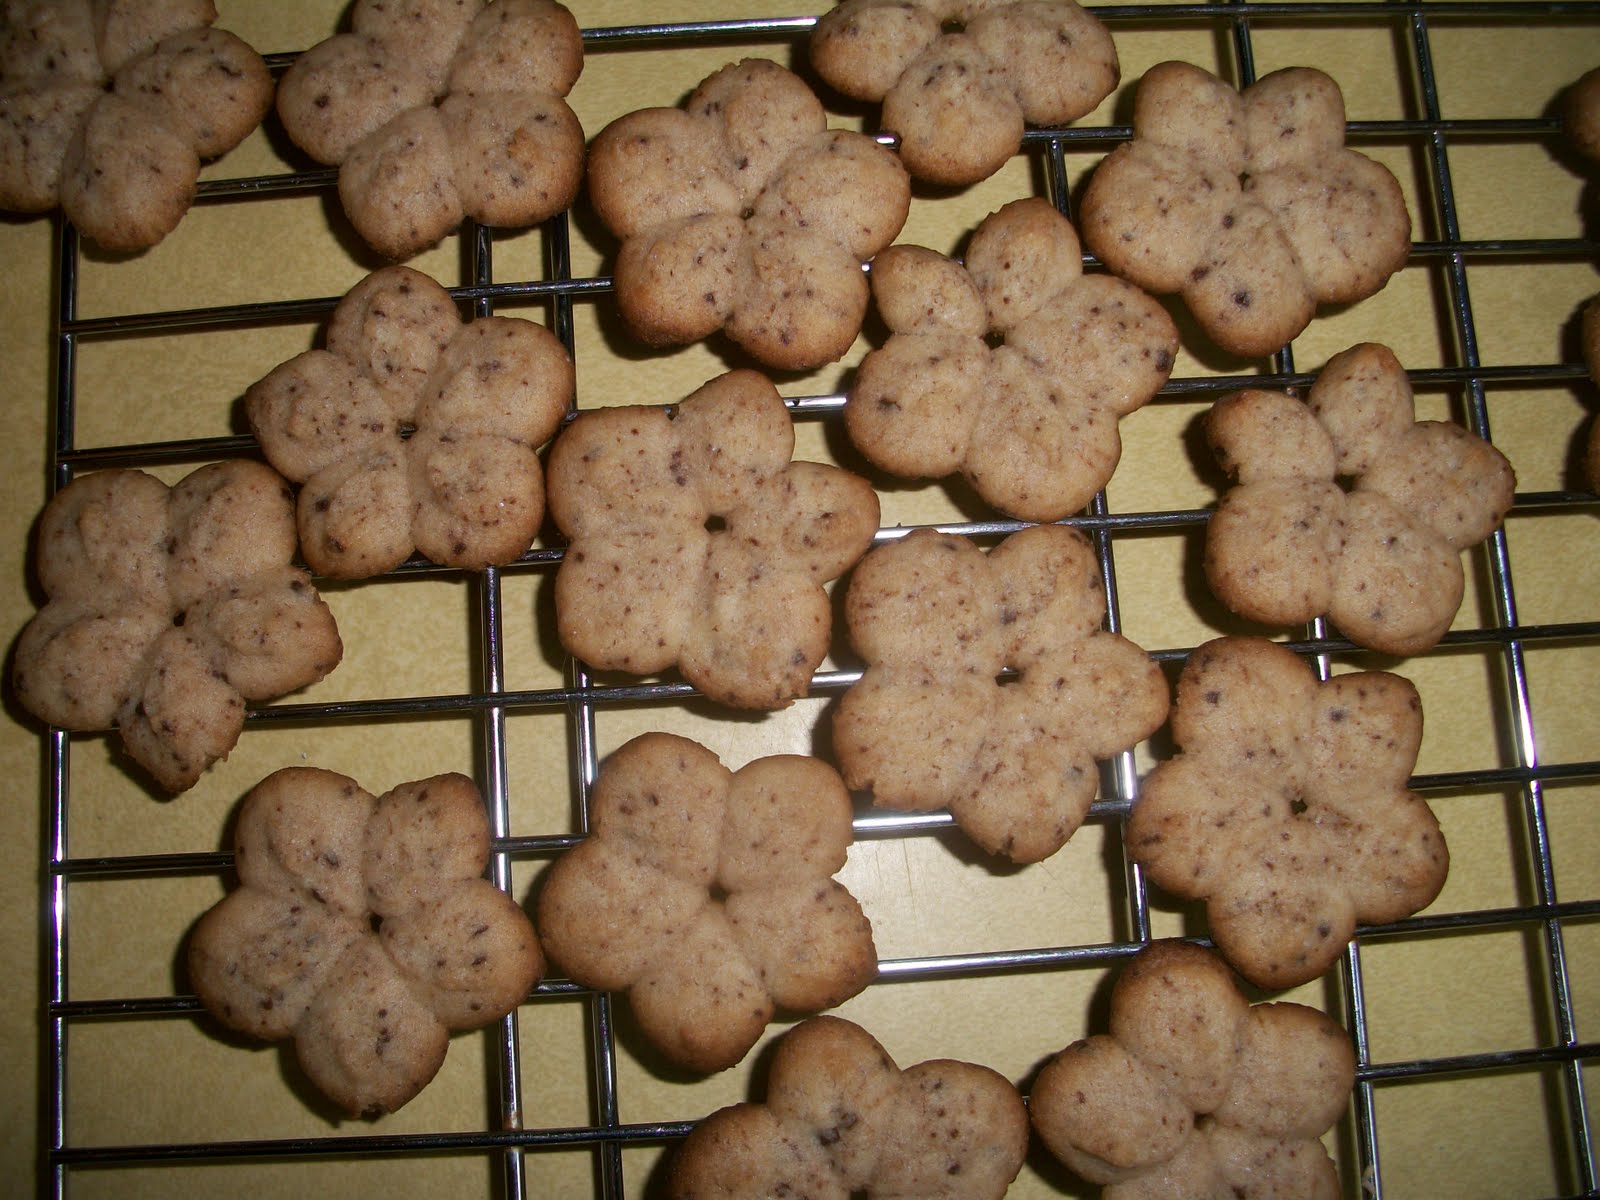
After a while though, I got the hang of it, and made some pretty flowers...
Bake at 400 degrees for 5 minutes. these cookies were less doughy and smaller than those from the pampered chef press, so the bake time was quick. I actually had a few burn victims.

Powdered sugar sprinkle, and we're done!

Both of these presses have their pros and cons. I think the pampered chef version, although a little less "high-tech" allows for a little more control and variation, which I think will be better once I'm more practiced at this whole "cookie-pressing" skill. The Swiss version is cookie pressing for dummies, which actually would have been better for round 1 I think.
Pampered chef: bigger cookies. Swiss: more delicate cookies.....
I guess it just depends on the mood. I'm sure I will use both in the future. They're both good products and made two yummy batches of treats!
Happy baking and happy weekend!
-S


 So I whipped up a quick pie crust....
 And got to work....
 Beat your eggs, then add in your vanilla, corn syrup, peanut butter, sugar and melted butter.
 Mix until creamy.
 Add in your peanuts....
 Pour it all into your pie crust. It smelled delish.
 Bake at 375 for about 30 minutes....
 Yummmm....
 I was pretty happy with this pie! Although, it was very similar to a pecan pie. I thought the peanut butter in the filling would make it more creamy and less gooey. All in all, pretty tasty though! A scoop of vanilla ice cream sealed the deal.
  Hope you all had a great Easter!
 Happy Weekend Blog Friends! Last night I finished my first ever hired-cookie-job. A friend of mine is hosting a baby shower tomorrow and asked me to make her lady bug cookies for the favors. I was pumped to have a paid cookie job, and excited for a challenging project.