Welcome to The Cookie Monster, a blog about the most marvelous, versatile, and beloved bakeable item in the land: The cookie. You may see occassional forays into pies, bars, and other sweet treats, but my main focus is and has always been on the bite sized genius behind my very favorite snack. Happy Baking!

Sunday, December 12, 2010

Buell Family Gingerbread Marathon

For pretty much as long as I can remember, gingerbread men have been an integral part of the Buell Family Christmas experience. We’ve always had these large, soft, spicy men at our family Christmas Eve bash, each marked with the name of a family member or friend. Once upon a time my Aunts used to take turns making them. There are lots of stories involving rock-hard brown sugar (we broke it up with a hammer), missing ingredients, and Kama Sutra gingerbread man positions. But the last five years or so we have made the cookies a family event, where aunts and cousins all pitch in to make them for family and friends.

Because the quantity has increased so much over the years (from around 30 large cookies to 180-200) we break up the madness into two days. This Sunday was Cookie day #1 of the year, and we cranked out about 160 of these bad boys.

The recipe is kind of a family secret (or I should say an auntie Barbara secret) since none of us really know it in its entirety. I’m pretty sure my aunt strategically splits up the tasks so no one else can be the recipes keeper. SO, I will share with you the general process, but alas, I have no measurements for you….

I arrived a little late to the party. When I walked in, everyone was already very focused on their individual tasks.....

Auntie Sue was melted together the butter, molasses and brown sugar on the stove. (The Buells have a genetic inability top keep our eyes open in pictures).

Jenn mixed up the dry ingredients, then added the egg and molasses mixture.

Jamie rolled out the dough, then cut the cookies and placed them on the baking sheet.


Everyone took turns decorating the raw cookies with M&M's and chocolate chips...
We made 16 batches of gingerbread. Holy Cow. The Christmas Music and egg nog inspired us.
I was assigned to mix in the food coloring for the frosting. we generally use white decorating frosting, red, green, and yellow. We make the "royal icing" from scratch, another recipe I'm not officially privy too.
I stuffed the pastry bags and we were ready to start decorating the baked cookies.

So I went to town....
We split up the decorating so that each of us was in charge of a certain feature. Jenn was on the mouths, I was on the hands and feet, Lauren was on the hair etc....


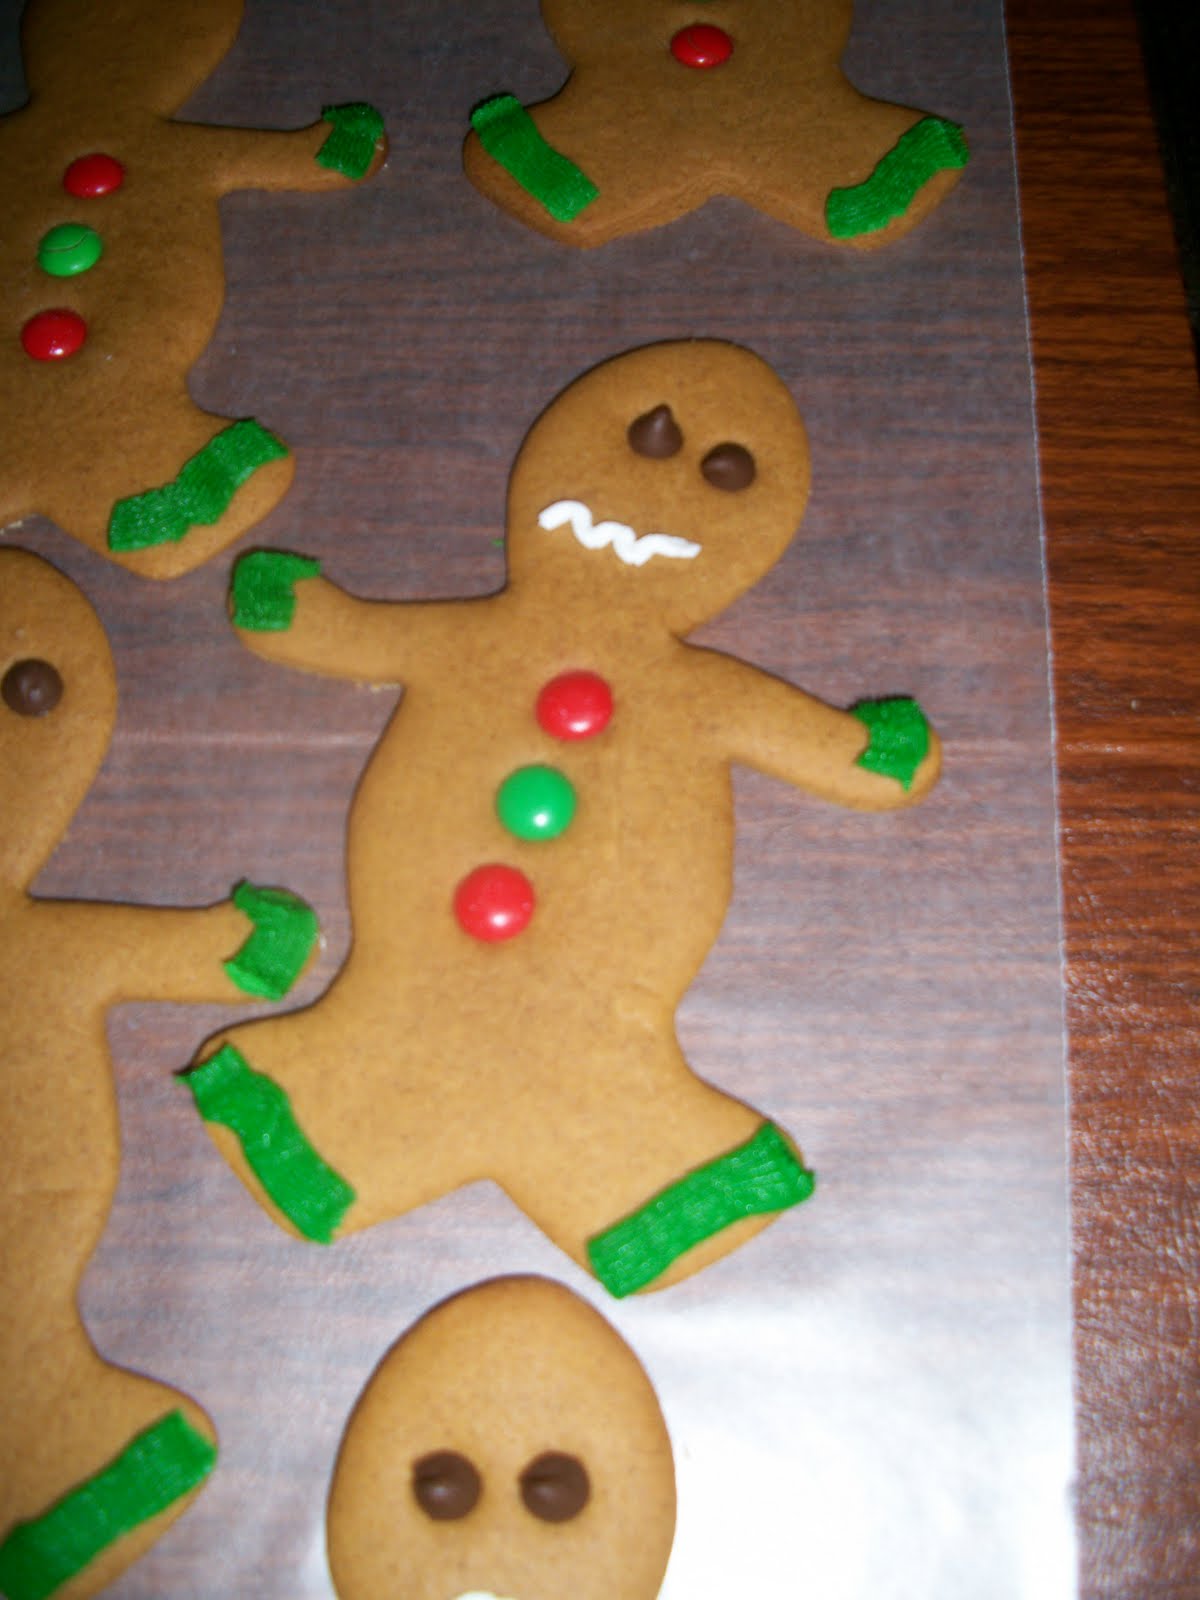
We had a little fun with the faces. This little guy is buck-toothed.

And this one knows his ultimate fate is death-by-eating.
We took a sandwich break at some point....
And finally, about 7 hours later, we completed cookie day #1 with around 150 finished men.

Cookie day #2 is only about half the gingerbread people. Hopefully we'll have recovered from our cookie-and-frosting hangover by then....

Happy Baking!

Sunday, December 5, 2010

Nutmeg Fleur-de-lis

My latest new cookie recipe experiment was for these soft, spicy nutmeg sugar cookies. I brought them along with me to a girls night last night, and they were well received. The nutmeg seems very seasonal, but bring something a little different than your typical gingerbread or pumpkin cookies for the holidays.

Ingredients:
1/2 cup butter, softened
1/2 cup shortening
1 1/2 cup sugar
1 tsp baking soda
1 tsp nutmeg
1/2 tsp salt
1 cup sour cream
1 egg
1 tsp vanilla
4 cups all purpose flour

Cream together the butter and shortening.

Add in the sugar, nutmeg, salt and baking soda. Blend until well mixed.

Next, add in your egg, vanilla and sour cream. When that's mixed thoroughly, add in your flour, one cup at a time, scrape down the sides of the bowl to make sure everything is even.

Roll your dough into 3 large balls, and chill for around 2 hours. I went and watched Harry Potter.

Then I came back to the kitchen and started rolling out the dough. I used my new Fleur de lis cookie cutter I bought at my friend Sarah's cooking store out in Seattle (www.mrscooks.com). Love this place.

These were pretty large cookies, but the recipe makes a lot of dough, so you can still get around 3 dozen out of it.

I wanted to make these a little prettier, but wasn't really up for making a batch of frosting. Instead I went for a little texturing/drawing with a toothpick.


Bake your cookies at 350 for 10 minutes. That was the perfect amount of time.

and enjoy! I dusted mine with a little powdered sugar to add some more sweetness. They came out pretty well, looked gorgeous, but were not very sweet. These are definitely more of a "tea-time" cookie then a dessert cookie.

Happy Baking!

Wednesday, November 24, 2010

Pie Crust Basics

Happy Thanksgiving! In honor of one of my very favorite holidays (and possibly the best excuse to bake ALL year) I wanted to do a post about making pie crust from scratch. Over the last couple of days I've talked to several people who are baking for the holiday. All of them have confessed to using store bought pie crust. This. Is. A. Travesty! First and foremost because crust is really not all that hard. All you need are the ingredients pictured above, and about 15 minutes. Cheaters never prosper, friends. ;)


Above is my super secret Pie Crust recipe that I swear by. I've tried lots of different ones, but this is by far the yummiest and most successful. It's adapted from a Paula Dean Recipe. I just added sugar and used salted butter. It only exists on this little torn piece of scrap paper in my Recipe Binder....and now in cyberland, too.

Mix together 2.5 cups flour, 3 tablespoons sugar, and 1/4 tsp salt in a large bowl until evenly distributed. Cut up your shortening and butter into tablespoon sized pieces, and then add them to the mix. It's very important that the butter is COLD. This will give your crust the right consistency...

Cut the butter and shortening into the flour. This is exactly what it sounds like. You can use two sharp knives and criss cross them over and over, targeting the larger chunks of butter. I bought a pasty blender a couple of years back to do this exact task, and it was the best 6$ I ever spent ;)


Work the butter/shortening into the flour until it resembles a crumb topping. The little balls of butter should be about the size of peas. The less you actually work/cut in the flour, the better. As you work with these kinds of doughs, the more you mix/mess with it, the more the gluten in the four develops. With pie crust, you want a light flaky texture, not a doughy one. Try to keep the contact to the absolute minimum.


Now, add cold water, a tablespoon at a time to the dough. Mix it with your hands, until all the dough is JUST moistened. You don't want to over-water your dough here. You really want to make it just wet enough that it will stick together...
This time around it took about 3 tablespoons of cold water. When you're all set, form the crust into two balls.
Pop them in the fridge, and you've got HOMEMADE pie crust for your apple, cherry, rhubarb, pecan whatever pie!!!!!


Give it a shot. It's a little tricky at first, but once you've got it figured out, you'll never buy crust from the grocery store again. I promise!
Happy Thanksgiving!